Skamowall Board Bond

Mounting instructions for SkamoWall

Mounting SkamoWall can be explained briefly in six points that make it easy for both DIY projects and professional craftsmen.

Mounting SkamoWall can be explained briefly in six points that make it easy for both DIY projects and professional craftsmen.

Find information, safety equipment and recommended tools here.

  1. Prepare the wall
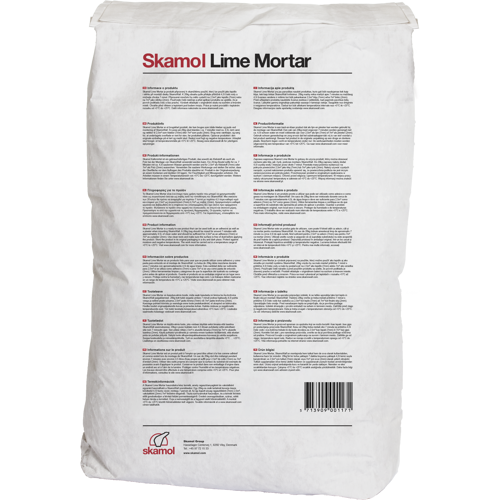
    Remove loose plaster, tar, paint residue and organic materials. In case of mould growth, clean the wall with a biocide product. Use the Skamol Lime Mortar adhesive so that unevenness does not exceed 10mm.

  2. Prepare the materials
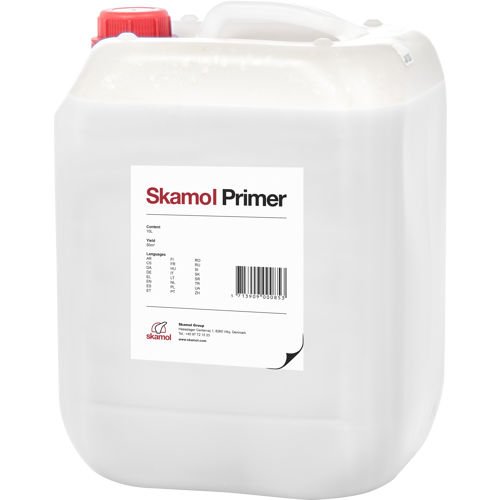
    Use common tools to resize and prepare SkamoWall Board for installations (e.g. electrical and plumbing). Apply Skamol Primer to the inward-facing side of the board.

  3. Mount the board
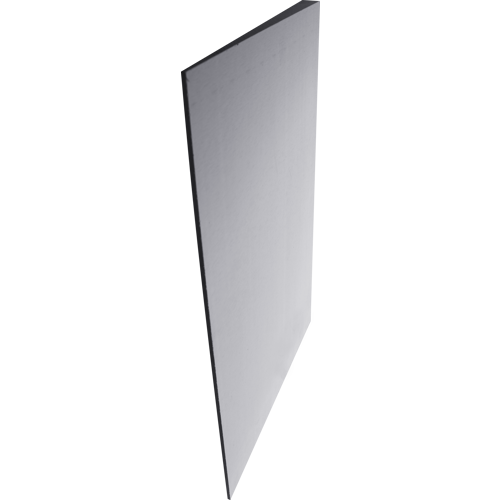
    Apply Skamol Lime Mortar to the SkamoWall Board and wall. Mount the boards on the wall and push the boards up against each other.

  4. Apply the plaster
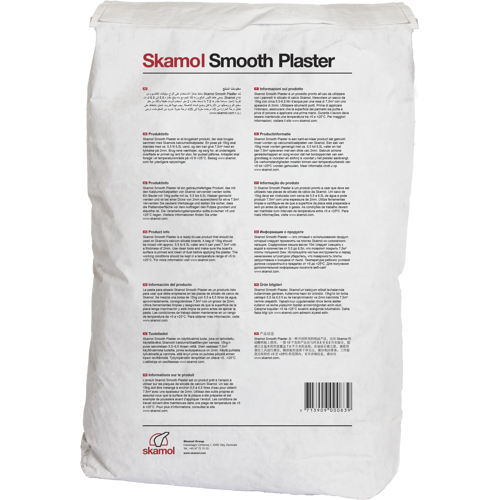
    Apply Skamol Primer to the outward-facing side of the board to be plastered. Choose between Skamol Lime Mortar and Skamol Smooth Plaster. Use the selected plaster to fill the joints.

  5. Mount the optional protection products
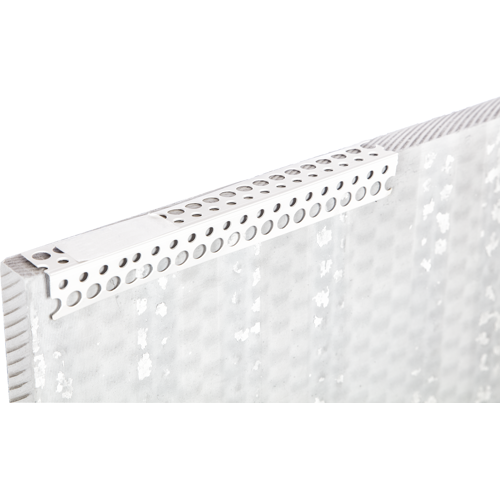
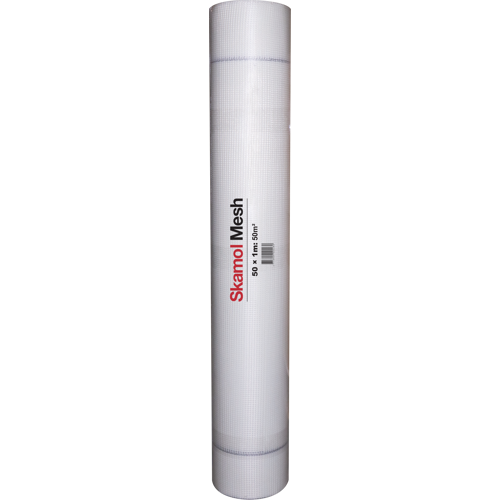
    If necessary, you can mount Skamol Corner and Skamol Mesh for extra wall protection.

  6. Finish the wall
    The wall can be painted, if desired.


Please note that any leftover material should be taken to your local recycling center.

Please accept marketing cookies to watch this video Click here to open the cookie selector.

Read more about SkamoWall products

Detailed description for mounting SkamoWall

1. Preparing the wall

  1. Remove loose plaster, tar, paint residue and organic materials. In case of mould growth, clean the wall with a biocide product.

  2. Ensure that the wall is level. Multiple layers of Skamol Lime Mortar can be applied in thicknesses of 10mm to even out the wall surface. Allow each layer to harden before applying a new layer of adhesive.

  3. When the wall surface is level, use water or Skamol Primer to ensure that the wall is free of dust.

2. Prepare the materials

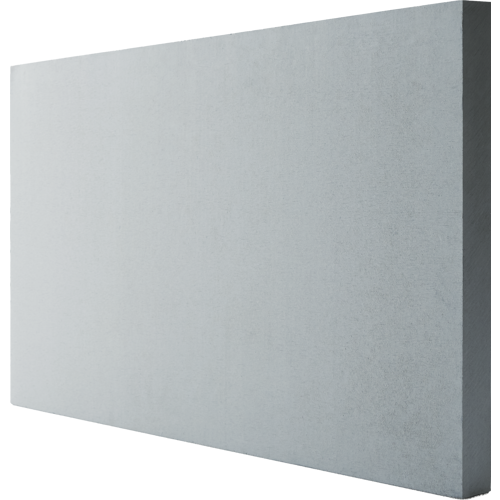
  1. If necessary, saw the SkamoWall Board/Bore/Wedge to the right size with a standard handsaw. Easily cut the board with a utility knife to fit electrical installations.
    Tools: Handsaw and utility knife

  2. Apply the ready-to-use Skamol Primer to the surface of the side of SkamoWall Board facing the wall. There is no difference in the function of the two sides of the SkamoWall Board, so it does not matter which side of the SkamoWall Board is mounted facing the room.
    Tools: Paint roller

  3. Wait approx. 30 minutes for the Skamol Primer to dry, and then start mounting the board.
    Mix and apply Skamol Lime Mortar to the wall. We also recommend applying Skamol Lime Mortar to the surface of the SkamoWall Board that will face the wall.
    Tools: Notched trowel (8mm)

3. Mount the board

  1. Place the SkamoWall Board approx. 10cm from the desired location. Immediately push the SkamoWall Board into place to level the Skamol Lime Mortar. SkamoWall Board must be fully bonded with 4mm to 10mm Skamol Lime Mortar.

  2. There must be a 5mm gap between the SkamoWall Board and the floor. The gap can be filled with an inorganic elastic material such as self-adhesive foam or silicone.
    Tools: Wedge spacers

  3. Use a spirit level to ensure that the boards are positioned correctly and level.
    Tools: Spirit level

  4. Mount the SkamoWall Boards bonded together with a minimum overlap of 5cm.

  5. Once the adhesive has hardened, excess material and unevenness can be sanded.

  6. SkamoWall Bore is mounted in the same way as SkamoWall board. It is important to leave a 5mm gap between the SkamoWall Bore and the window sill. The gap can be filled with an inorganic elastic material such as self-adhesive foam or silicone.

  7. SkamoWall Wedge is mounted in the same way as SkamoWall Board.

4. Apply plaster

  1. Remove dust from the surface of the mounted SkamoWall Board.

  2. Apply Skamol Primer to the surface of the mounted SkamoWall Board with a paint roller or similar tool.
    Tools: Paint roller

  3. Wait approx. 30 minutes for Skamol Primer to dry.

  4. Mix and apply the plaster to the entire surface of SkamoWall Board/Bore/Wedge in an even layer with a notched trowel.
    Tools: Notched trowel (8mm)

  5. Level and felt the plaster. If desired, the hardened plaster can be sanded lightly and a new layer can be added on top of the existing layer of plaster. This can be repeated until the desired result is achieved.

5. Mount optional protection 

  1. Apply a layer of plaster to the SkamoWall Board where the Skamol Corner is to be placed. Choose between Skamol Lime Mortar and Skamol Smooth Plaster.
    Tools: Notched trowel (8mm)

  2. Press Skamol Corner into the wet plaster. Smooth out any excess plaster.

  3. Once the plaster has hardened, follow steps 4.4 and 4.5.

  4. Apply one layer of plaster to the SkamoWall Board where the Skamol Mesh is to be placed. Choose between Skamol Lime Mortar and Skamol Smooth Plaster.
    Tools: Notched trowel (8mm)

  5. Press Skamol Mesh into the wet plaster with an overlap of 10cm. Smooth out any excess plaster.

  6. Once the plaster has hardened, follow steps 4.4 and 4.5.

6. Finish the wall

  1. Once the plaster has hardened, mounting is complete.

  2. If the wall is to be painted, use a Skamol recommended paint.